All about tiles
Tile Installation Basics
1. Floor Levelling
After removing the old tiles, carpet or hardwood floor, you will need to see how levelled is your floor. Also important to level floor with surrounding elements like transition area with other floors and door thresholds door length. Read more about the importance of floor levelling here.
In the case of wall tile installation, an even surface will create a smother installation and less thin set build up that can sometimes be a little challenging for the unseasoned tile installer.

Dry layout of tiles directly on dry pack.
2. Tile Guides
Prior to laying tiles, it is highly recommended to snap chalk lines and or use a laser to create a tile layout guides. This will also give you a good idea of how the floor layout will be and whether there is a symmetric pattern or not.
3. Tile Layout
Lay tiles without thin set/mortar along the chalk lines to have a better idea of where tile will be cut and whether you want grout lines to be in certain areas or not. When doing a dry layout (See photo), do not forget to use the required spacers. You may also notice you if you have enough tiles or a little short.
4. Clean Surface
Prior to tiling, make sure the surface is clean and clear of any debris. For best result use a vacuum.
5. Begin Tiling
Begin installing tiles from the end of the room allowing you to exit the room without stepping on the tiles. For a comfortable rhythm, apply mortar to approximately 4 square feet at a time. Back buttering each tile is highly recommended for strong adhesion an levelling. Remove and clean any excess thin set/mortar that has in the grout lines or on the surface of the tile before it cures. Place spacers on all sides of the tiles.
6. Tile Cutting
To reduce wastage always measure tile required to fill the edges prior to cutting, do not batch cut assuming walls are straight in order to save time, Most walls are not straight.
7. Curing time
Prior to applying grout and stepping on the newly installed tiles, read the manufacturer's required curing time for the thin set/mortar used.
8. Applying grout
Remove all the spacers and begin applying the grout making sure all the grout lines are filled evenly. Remove excess grout as you go with water and a sponge. Read the manufacturer's required curing time for the grout used prior to walking or getting the area wet.
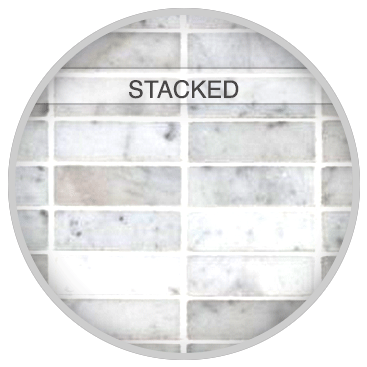
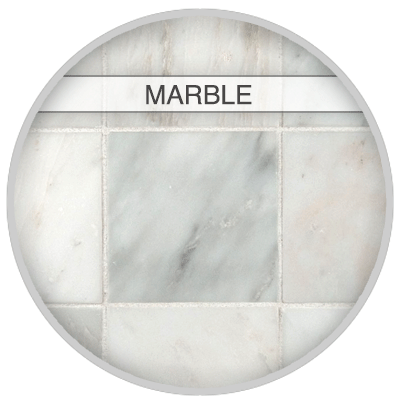
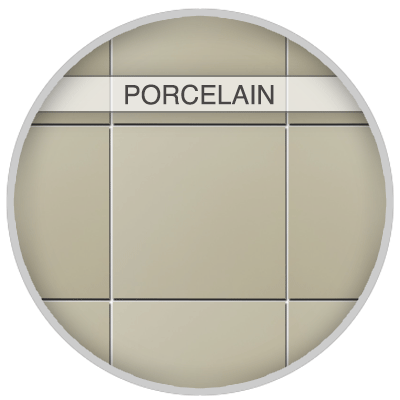
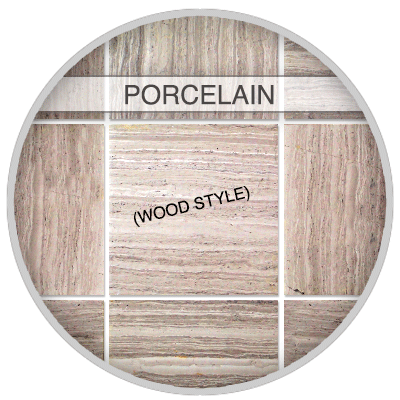
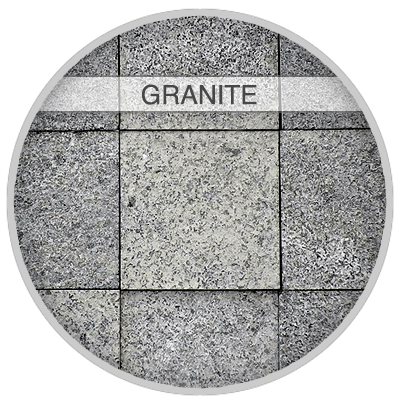
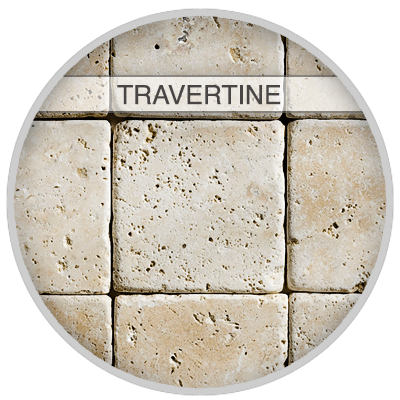
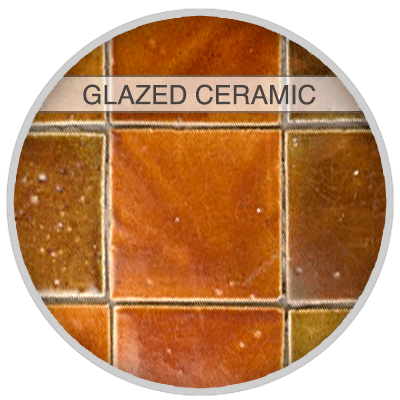
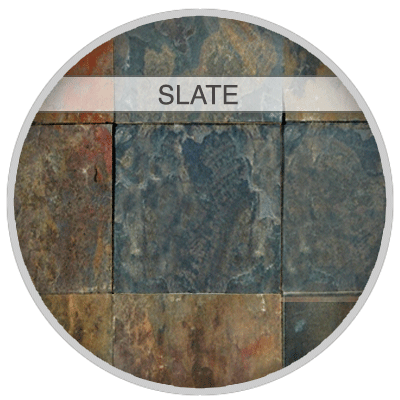
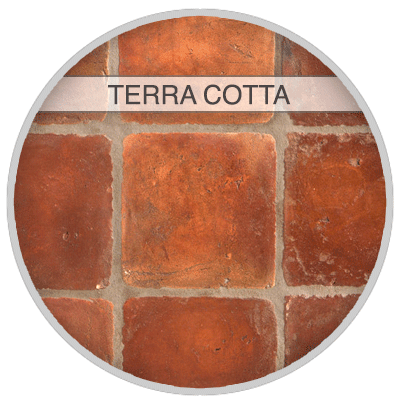
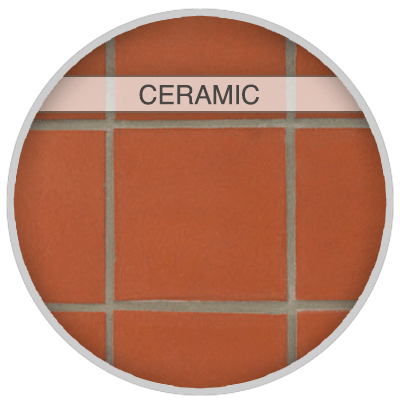
Type of Tiles
From kitchen floor to shower walls, to backsplash, the choice of tile colour, material, and pattern leaves you with an infinite combination that is only limited by your creativity.
Tile Layout Patterns
Choosing the right pattern can be as important as choosing the right tile to achieve the . There are many tile patterns to choose from, don't forget tile can be placed diagonally or 45-degree angle as well for a more sophisticated look.